How We Reduced React App Load Time by 36%
7 Practical Tips for Faster Frontend Performance
Building scalable React apps with a focus on accessibility, performance, and DX. I write about design systems, frontend architecture, and developer tooling.
Who doesn’t love blazing fast apps? At Certa, we know our customers expect nothing less than a snappy responsive UI with minimal wait times. A slow application can leave customers feeling frustrated and not wanting to come back for more.
Many blogs already cover classic React application optimisation techniques, like image lazy loading, route level code splitting, virtualisation, useMemo, and more. This blog digs deeper and explores lesser-known techniques that are often overlooked, but can help improve your React application’s performance. Even if you don’t use React, most of these tips are still useful.
Route-level code splitting is a well-known optimisation to significantly improve load times, and we already had it in our application. We needed something extra to reduce load times even further.
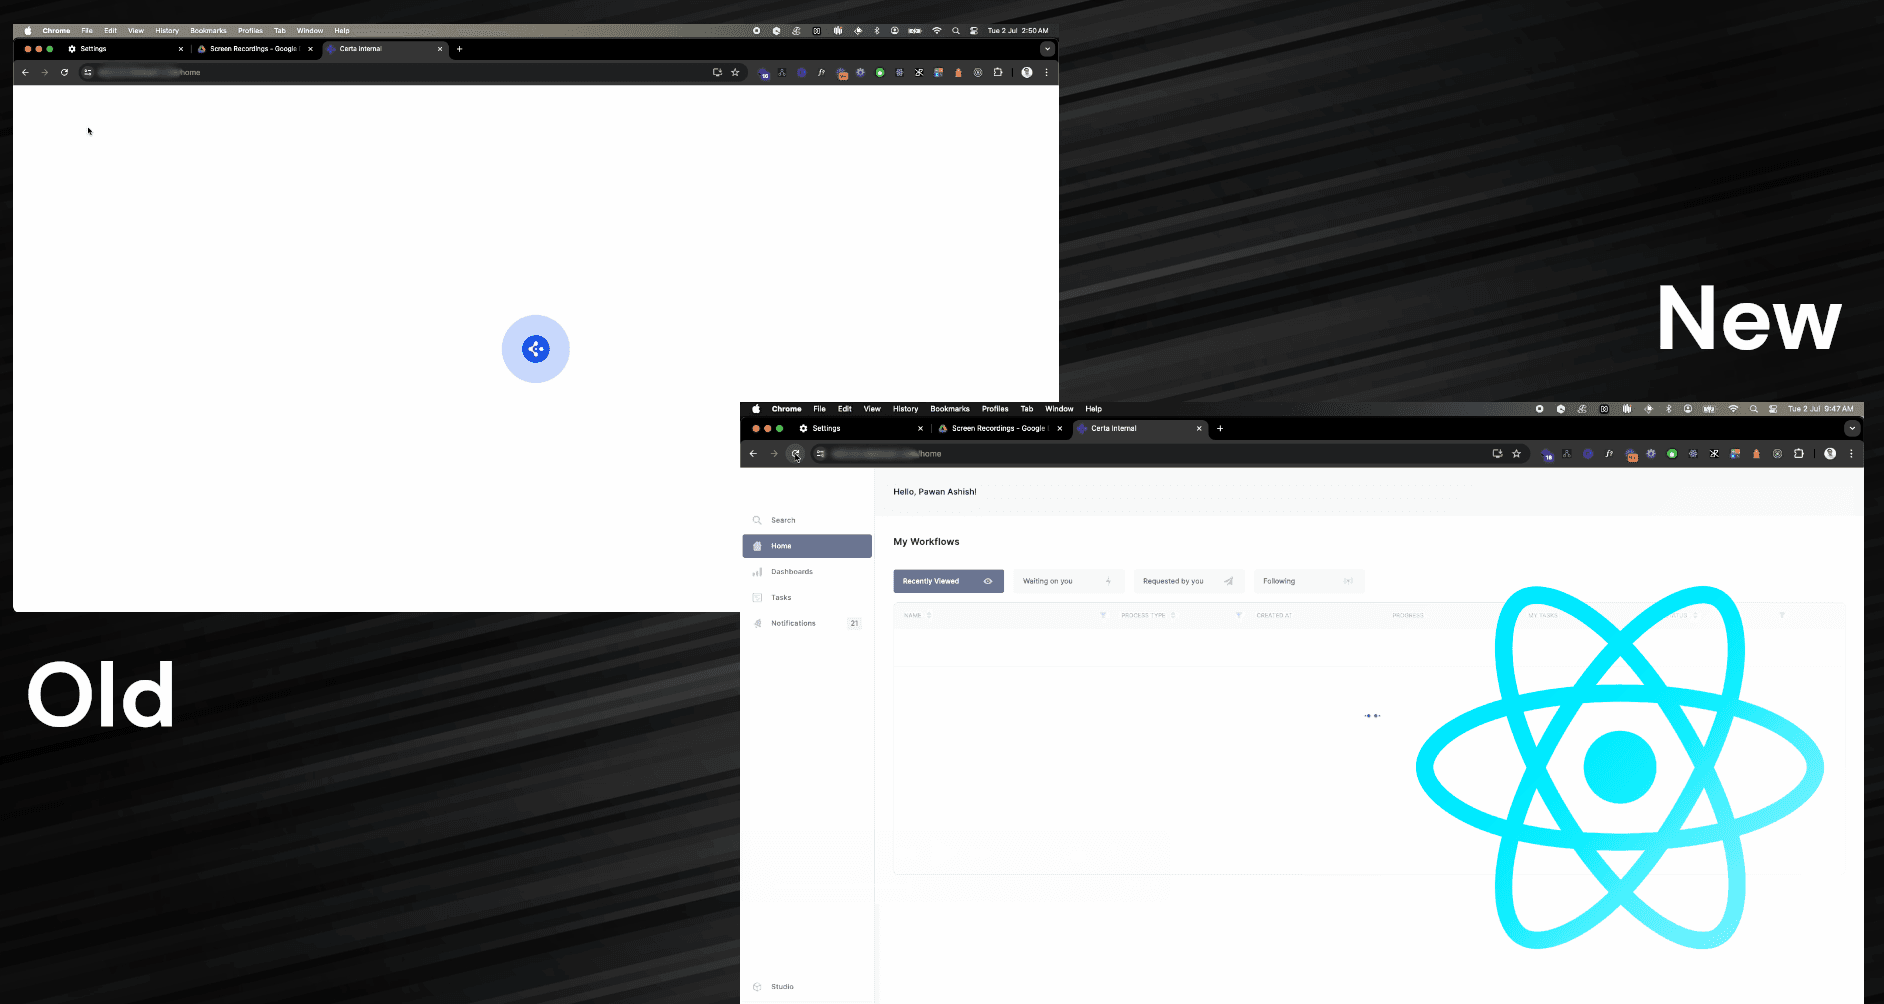
🚀 Check out the improvements we got:
Certa’s platform frontend is a client-side application built using React + TypeScript + Vite. It’s a fairly large application with various third party libraries installed. If you’re using a similar stack the following tips should be very straightforward to implement.
Let’s dig right in!
🧹 Remove Old Unused Routes
Startups like ours are supposed to iterate quickly. We often leave behind a lot of unused legacy code because we're focused on building the next big thing.
As an application evolves, we tend to forget about old, unused routes that remain in our routing declarations. These old routes add to your application's bundle size over time, so it's important to clean them up once customers have fully migrated to the new version.
We're using React Router, so simply removing these routes from wherever you've declared all your routes will eliminate them from the bundle due to tree shaking.
<Route path="/" element={<MainLayout />}>
    <Route index element={<Home />} />
    <Route path="about" element={<About />} />
    <Route path="login" element={<Login />} />
    <Route path="insights" element={<Dashboard />} />
    <Route path="messages" element={<Messages />} />

    {/* Old Routes */}
-   <Route path="dashboard" element={<DashboardOld />} />
-   <Route path="chat" element={<Chat />} />

    {/* 404 Route */}
    <Route path="*" element={<NotFound />} />
</Route>
Clean up the tech debt
Go ahead and clean the code associated with the removed route. I’d recommend using a tool like knip which can find unused files, dependencies, and even exports. Best part is that it can also clean up that code automatically for you.
A cleanup is great for engineering productivity.
A cleaner, more organised codebase reduces cognitive load for developers, making it easier to onboard new team members and allowing existing developers to work more efficiently.
Less code to refactoring in cases of large repo wide refactors.
🛒 Lazy Load Large Third-Party Libraries
When building a large application, it’s inevitable to use many open source libraries. Some of these libraries tend to be quite large. It makes more sense to lazy load these libraries so that they are fetched only when a component importing them is rendered.

Let’s take the example of jsoneditor-react. We have included it in our application for JSON editing capabilities but these capabilities are only required on certain pages and so it doesn’t make much sense to load them initially on page load. jsoneditor-react contributes around 210kB (gzipped) to the bundle size which is significant enough to lazy load.
Following example of lazy loading jsoneditor-react is a rather more extreme case where multiple dependent libraries also have to be loaded in order for the library to work.
import loadable from "@loadable/component";
import type {
  JsonEditor,
  JsonEditorProps as JsonEditorComponentProps
} from "jsoneditor-react";
import Ajv from "ajv";

const ajv = new Ajv({ allErrors: true, verbose: true });

const Editor = loadable(
  () =>
    import("ace-builds/src-noconflict/ace")
      .then(() =>
        Promise.all([
          import("jsoneditor-react"),
          import("brace"),
          import("jsoneditor-react/es/editor.min.css"),
          import("brace/mode/json")
        ])
      )
      .then(([{ JsonEditor }, { default: ace }]) => {
        return forwardRef<JsonEditor, JsonEditorComponentProps>(
          (props, ref) => (
            <JsonEditor ace={ace} ajv={ajv} ref={ref} {...props} />
          )
        );
      }),
  {
    fallback: <FallbackLoader />
  }
);

// Usage
const MyForm = () => {
    return (
        <Editor ... />
    )
}
We’re using the loadable-components library to make lazy loading simpler. It essentially only fetches the module when the component mounts (<Editor> is this case).
Here is a simpler use-case where we need the xlsx library capabilities to export an excel sheet.
export const exportExcel = async (
  data: Record<any, any>[],
  fileName: string,
  extension: string
) => {
  // Dynamic import
  const XLSX = await import("xlsx");

  const worksheet = XLSX.utils.json_to_sheet(data);
  const workbook = XLSX.utils.book_new();
  XLSX.utils.book_append_sheet(workbook, worksheet, "Sheet1");
  XLSX.writeFile(workbook, `${fileName}.${extension}`, {
    compression: true
  });
};

// Usage
const MyForm = () => {
    return (
        <button onClick={() => exportExcel(...)}>
          Export as excel sheet
        </button>
    )
}
🌲 Use Tree Shakable Alternatives
The lodash library is not tree-shakable by default. You need to import modules with specific paths like lodash/map so that you don’t end up importing the whole library. With a large team, it’s not always possible to follow specific import syntax patterns. One mistake can lead to an increased bundle size.
The lodash-es package on the other hand is tree-shakable by default as it uses ES modules. So you can import without accidentally including unnecessary code in the bundle.
// All lodash modules included in bundle
import { debounce } from 'lodash';

// Only 'debounce' function included in bundle
import debounce from 'lodash/map';

// Only 'debounce' function included in bundle
import { debounce } from 'lodash-es';

// Only 'debounce' function included in bundle
import debounce from 'lodash-es/debounce';
If your team can’t move away from lodash, you can always use an ESLint rule:
"no-restricted-imports": [
   "error",
   {
      "paths": [
         {
            "name": "lodash",
            "message": "Import [module] from lodash/[module] instead"
         }
      ]
   }
],
🔌 Pre-connect to Frequently Used Endpoints
In your main HTML file, you can define origins using <link rel="preconnect"> which will tell the browser to preemptively perform all of the handshake (DNS+TCP for HTTP, and DNS+TCP+TLS for HTTPS origins) for those origins. This will speeds up future loads from a given origin.
These origins should be cross-origin. It has no benefit on same-origin requests because the connection is already open.
These origins are usually ones that you need on page load and are used on almost all pages of your application.
Here is an example:
<!-- Preconnect - Full connection including DNS, TCP, and TLS -->
<link rel="preconnect" href="https://www.gstatic.com" />
<link rel="preconnect" href="https://fonts.gstatic.com" crossorigin />
<link rel="preconnect" href="https://fonts.googleapis.com" />
<link rel="preconnect" href="https://www.recaptcha.net" crossorigin />
<link rel="preconnect" href="https://api.certa.in" />
The crossorigin attribute is added when the server expects CORS headers in the request. If the server is cross-origin but doesn't require CORS headers (like for images or scripts that don't need CORS), you should omit the crossorigin attribute else the pre-connection would be of no use and the browser would be forced to establish a connection again.
Before preconnect:

After preconnect:

That’s around 0.4s faster page loads already. 🚀
🖌 Optimize Fonts
Eliminate Extra Fonts (if possible)
Our application used 4 different fonts before optimization. One was our primary font, others were just used at single places in the UI. We redesigned our UI in a way that eliminated the need for some most of the extra fonts. Loading fonts is blocking in nature, so lesser the fonts, the better for page loads.
Preload Fonts
When importing fonts in HTML, we typically import like this:
<link
  rel="stylesheet"
  href="https://fonts.googleapis.com/css2?family=Inter:wght@100..900&display=swap"
/>
Adding a preload tag tells the browser to start downloading the asset early and treat it as high priority. It ensures that the font is available to be used before browser renders the page. This prevents UI flicker caused by loading default browser fonts and then the desired fonts.
<link
  rel="preload"
  as="style"
  href="https://fonts.googleapis.com/css2?family=Inter:wght@100..900&display=swap"
  crossorigin
/>
<link
  rel="stylesheet"
  href="https://fonts.googleapis.com/css2?family=Inter:wght@100..900&display=swap"
/>
🪑 You might not need those Polyfills
A polyfill is a piece of code that provides modern functionality to older browsers that don't support it natively. For example, if you want to use Array.prototype.includes() (ES7 feature) in a very old browser that doesn't support it, you'd need a polyfill to replicate that functionality.
Polyfills do come with several downsides:
Bundle Size: Each polyfill adds to your JavaScript bundle size, increasing download times and potentially affecting performance.
Runtime Overhead: Polyfills often can't match the performance of native implementations.
Maintenance Burden: Managing polyfills adds complexity to your build process and dependencies.
Before including polyfills, ask yourself:
What browsers do your users use?
What percentage of your users would benefit from the polyfill?
What's the performance impact of including the polyfill?
It might be beneficial to drop support for old browsers and ask them to upgrade if the users using old browsers is a very small fraction.
At Certa, we were using polyfills for string.prototype.matchall and had react-app-polyfill package added to polyfill ES6 features for Edge 17 and 16 compatibility.
After analysing the browsers our users were using, we found that those browser are no longer used and proceeded to clean them up.
🪆 Manual Chunking with Vite
While Vite provides automatic chunking out of the box for source code, there are scenarios where manual chunking gives you more control over your build output. Allow me to explain:
By default Vite third-party libraries and source code is bundled together in what we call the index chunk. This chunk is the first chunk to load and is always loaded no matter the route.
We should aim to break down large chunks in order to reduce fetching delays.
Aim for chunks between 100-300KB
Too many small chunks can increase HTTP requests
Too few large chunks can delay initial load
Visualize your Bundle
Before we optimize chunking, it would be great to visualize it first so that we can observe the difference. Using rollup-plugin-visualizer, we can view a neat graph of all the chunks and how much size they take up.

Separate Chunk for Third-Party Libraries
Third-party packages are not dependent on any application source code, so they can all be easily separated into a separate chunk without any breakages. Let’s call this chunk the vendor chunk.
You can further divide the vendor chunk into multiple separate chunks. Be careful here, because third-party libraries are often inter dependent on each other, so it’s important to keep inter dependent packages in the same chunk else they might fail to load at run time.
Possible scenario that will lead to an error:
// Will FAIL

// Dependency graph
@lexical/core -> @lexical/react -> @lexical/core

// Manual chunking
if (id.includes("@lexical/react")) return "lexical-react";
if (id.includes("@lexical/core")) return "lexical-core";

// Output chunks
lexical-react-[hash].js
lexical-core-[hash].js
In above example, we are keeping to inter-dependent packages in separate chunks.
When lexical-react chunk is loaded and parsed, it will see that there is an import to the lexical-core chunk. Parsing will be paused for "lexical-react" and move to loading and parsing “lexical-core“ chunk.
The lexical-core chunk will have an import statement defined for lexical-react. But the lexical-react chunk is still not loaded yet, so we’re stuck in a deadlock and the parsing fails and error is thrown.
For this reason, we need to keep related packages in the same chunk.
// Will SUCCEED

// Dependency graph
@lexical/core -> @lexical/react -> @lexical/core

// Manual chunking (will include both `@lexical/core` and `@lexical/react` in same chunk)
if (id.includes("lexical")) return "lexical";

// Output chunks
lexical-[hash].js
It’s not recommended to implement manual chunking in source code due to high likelihood of creating circular dependencies that will break your app too often. The right way to create separate chunks in source code is to use dynamic imports where is makes sense. Each route should ideally be dynamically imported so that the module bundler knows to analyse the dependency graph and separate the chunks accordingly.
Here is the full manual configuration:
// vite.config.ts
const viteConfig = defineConfig(() => ({
  build: {
    rollupOptions: {
      output: {
        manualChunks
      }
    },
    ...
  },
  ...
}))

function manualChunks(id: string): string | void {
  const isVendor = id.includes("node_modules");
  if (isVendor) {
    // Creates manual chunks from node_module deps. Reducing the vendor chunk size.
    if (id.includes("core-js")) return "core-js";
    if (id.includes("react-flow-renderer")) return "react-flow-renderer";
    if (id.includes("recharts")) return "recharts";
    if (id.includes("lexical")) return "lexical";
    if (id.includes("d3-")) return "d3";
    if (id.includes("lodash-es")) return "lodash";
    if (id.includes("moment")) return "moment";
    if (id.includes("dexie")) return "dexie";
    if (id.includes("date-fns")) return "date-fns";
    if (id.includes("react-popper")) return "react-popper";
    if (id.includes("handlebars")) return "handlebars";
    if (id.includes("@sentry")) return "sentry";
    if (id.includes("@radix-ui")) return "radix-ui";
    if (id.includes("@dnd-kit")) return "dnd-kit";
    if (id.includes("jsoneditor-react") || id.includes("brace"))
      return "jsoneditor";

    // Default chunk name for third-party packages
    return "vendor";
  }
}
All chunks required for initial page load are loaded in parallel. So the largest chunk can be the bottleneck, which is where manual chunking helps to break down chunk further.

Conclusion
Most of the above techniques are framework independent. They can be done one at a time and are fairly straightforward to implement. Enhancing the performance of your application will greatly improve user experience, leading to higher satisfaction and engagement.
With a combination of all these techniques, we benchmarked major improvements in metrics across our platform and saw a 36% improvement in page load times on average. Let’s dig into the metrics, shall we?
57% reduction in the app size loaded on Login page
LCP (Largest Contentful Paint): 27.2% faster
FCP (First Contentful Paint): 28.5% faster
FMP (First Meaningful Paint): 30% faster
DOMContentLoaded (DCL): 41.1% faster

Hope you achieve similar or even better results! 🚀
We're hiring!
If solving challenging problems at scale in a fully-remote team interests you, head to our careers page and apply for the position of your liking!